
主题
Customer/Department Management is designed for organizations that manage multiple customers, stores, projects, or internal departments. An administrator can create a separate member and resource scope for each customer or department, then control whether its members may create, update, delete, or publish content. This helps prevent resource mix-ups and accidental operations.
The management model has three parts:
- Customer/Department: the boundary for resources and permissions, such as a customer, store, project team, Engineering, or Marketing
- Member users: sign-in accounts that belong to a customer/department
- Resources: devices and programs assigned to that customer/department, plus media managed within its scope
A typical setup sequence is: create the customer/department, configure permissions, add members, and then assign devices and programs. After signing in, members work only with resources in their customer/department scope.
Open Customer/Department Management
Sign in with an administrator account. On either My Program or My Device, open the more menu in the top-right and select Customer/Department Manage. The entry is available for cloud management and local services that support this feature.
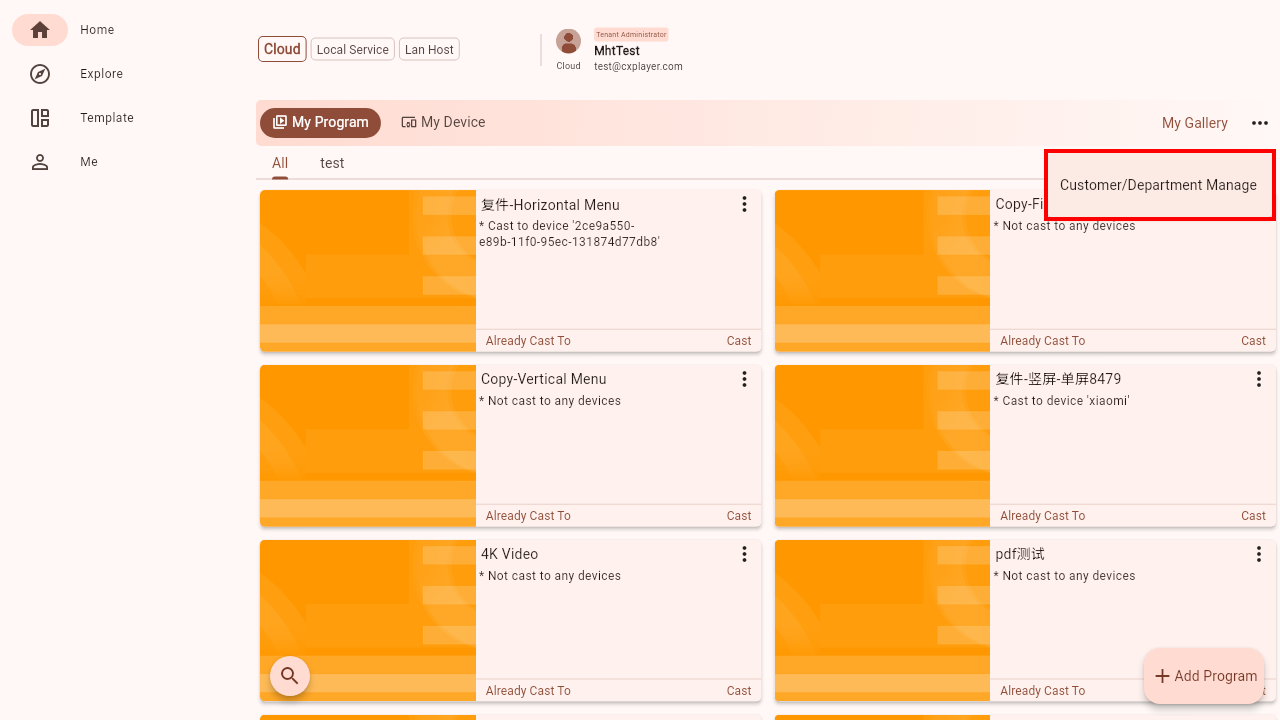 Customer/Department Management entry
Create and edit a customer/department
On the customer list, use Add Customer in the top-right and enter a name. Use a clear organizational name such as “London Store,” “Project A,” or “Engineering.”
Each card represents one customer/department. Select the card or Edit to open its details, where you can manage its name, permissions, and members.
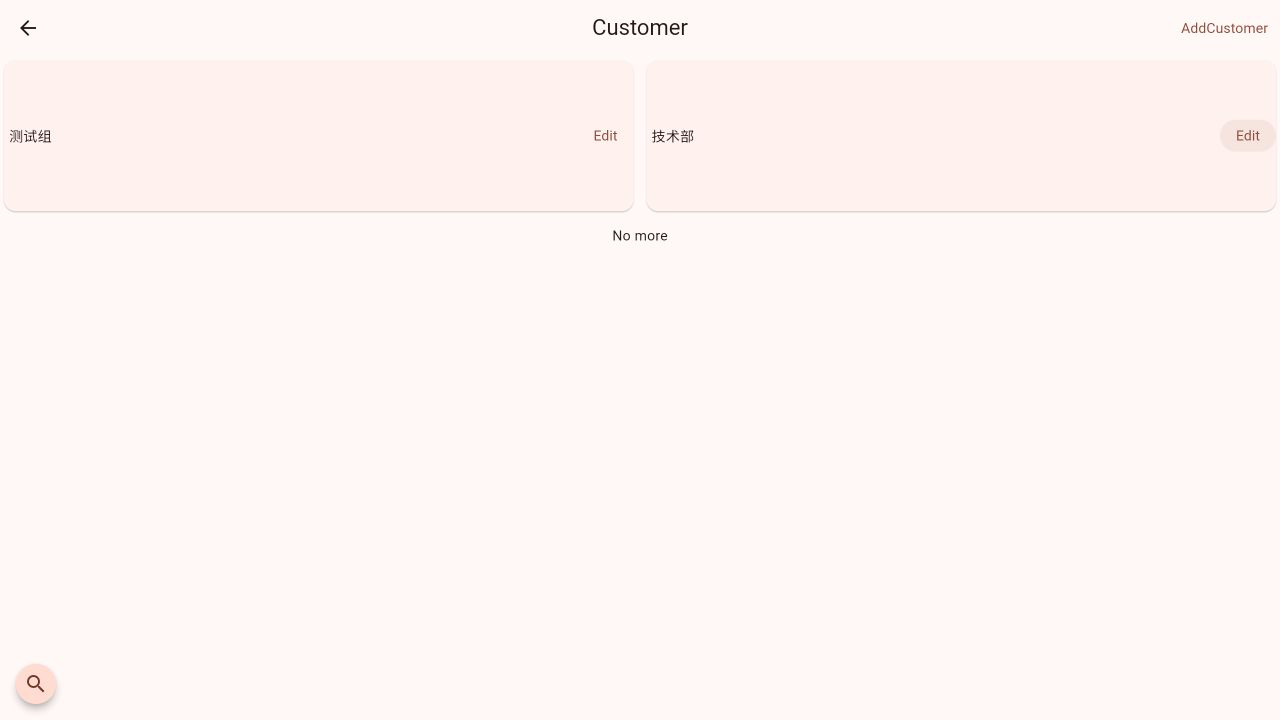 Customer/department list
The detail page contains:
- Customer Title: select the current name to rename the customer/department
- Customer Permissions: a summary of the current Program, Media, and Device policies
- User List: the member accounts that belong to this customer/department
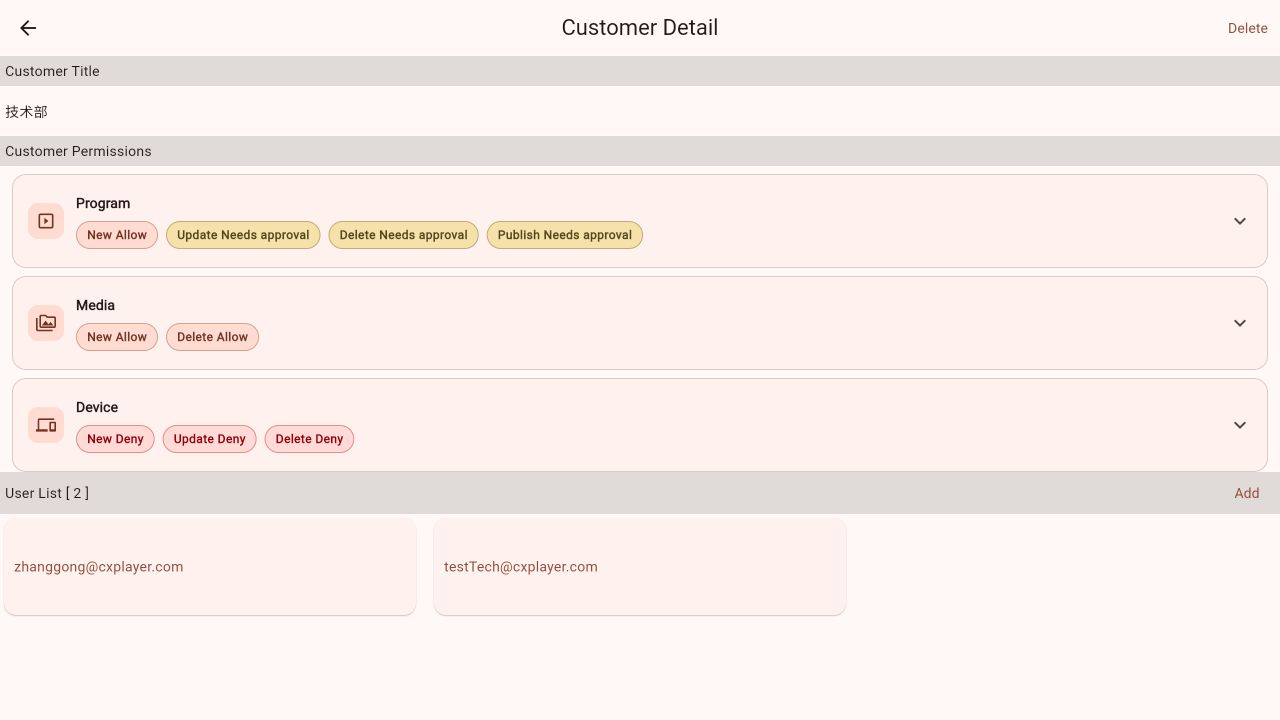 Customer/department details and permission summary
Configure permissions
Permissions are configured separately for each resource type. Expand a permission card to edit individual operations:
| Resource type | Configurable operations |
|---|---|
| Program | New, Update, Delete, Publish |
| Media | New, Delete |
| Device | New, Update, Delete |
Each operation uses one of these decisions:
- Allow: members can perform the operation directly
- Deny: members cannot perform the operation
- Needs approval: the member's request enters an approval flow for an administrator to handle
Needs approval is available only for Program Update, Delete, and Publish. Other operations can be set to Allow or Deny. After changing a decision, select Save in the top-right to apply the policy.
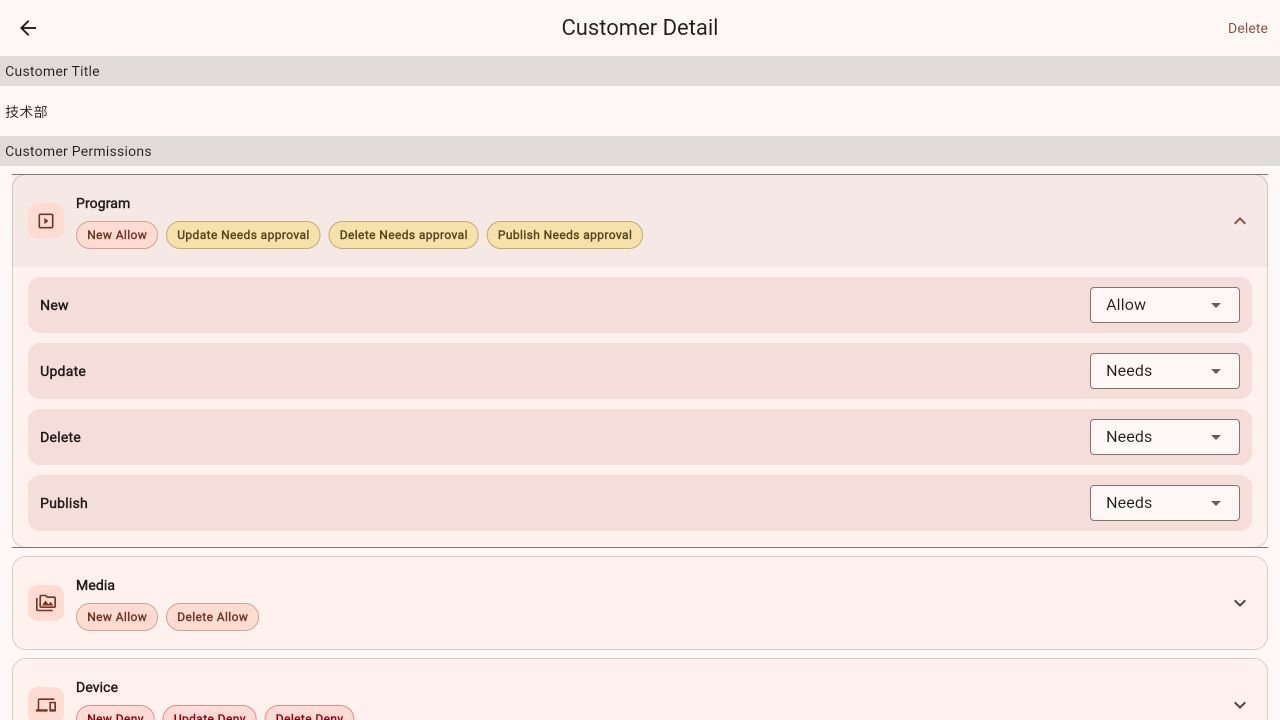 Expanded Program permissions
Permission settings and resource assignments work together. For example, before allowing members to publish a program, assign both the program and its target device to the same customer/department.
Add and manage members
Select Add in the User List section and enter the member details:
- Email: the member's sign-in account; required
- Phone: optional
- Name: optional; a real name or role makes the account easier to identify
- Password and Repeat Password: required for a new user; the password must contain at least six characters and both entries must match
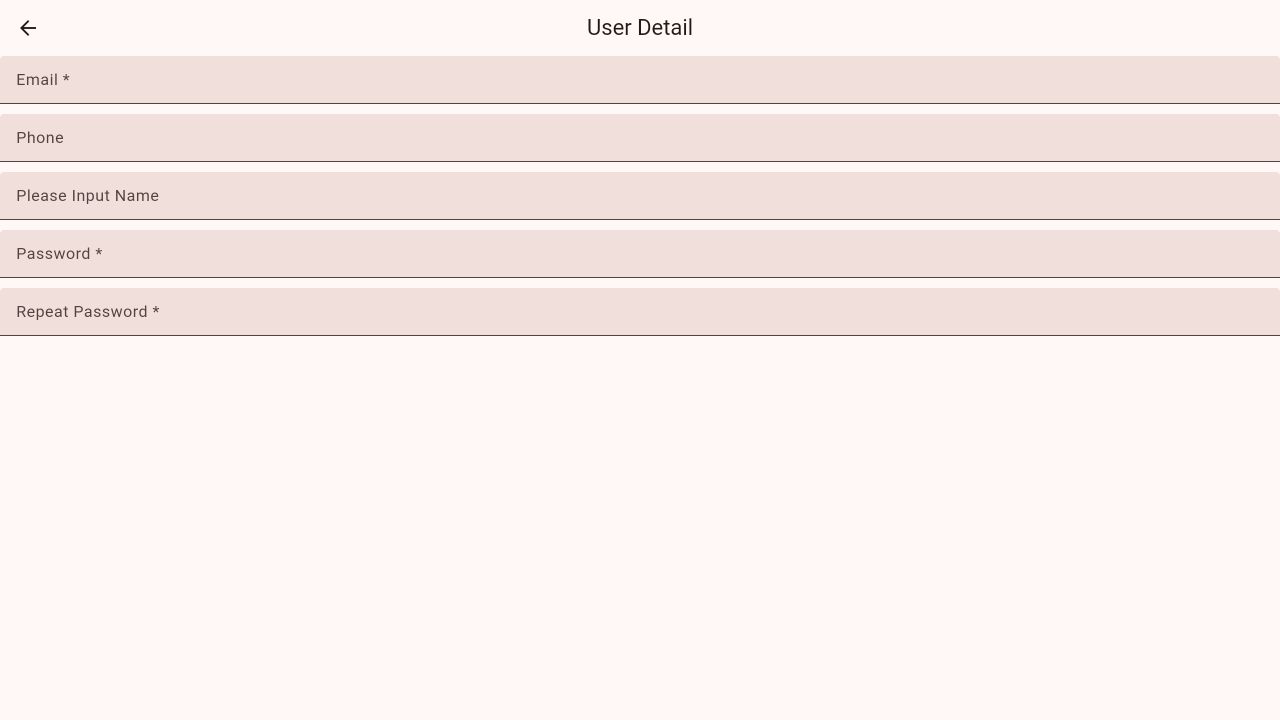 Add a member account
After creation, the member appears in the user list. Select an existing member to update details or delete the account. In cloud management, an administrator can also sign in as that member to verify the resources and actions the member can access.
A member account is limited by both the customer/department resource scope and its permission policy. The member can complete an operation only when the resource is assigned and the corresponding action is allowed.
Assign a device
- Open My Device and select the device you want to assign.
- In Device Detail, select Assign To Customer.
- Choose the target customer/department and select Select to confirm.
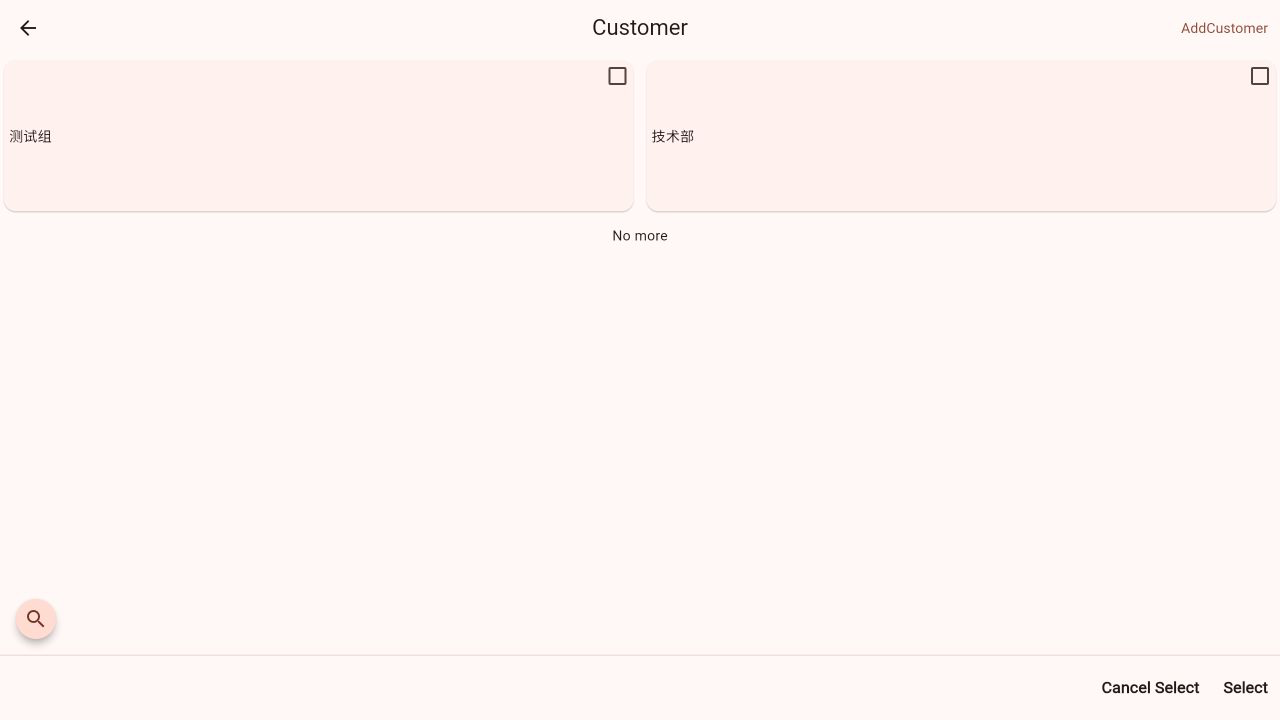 Select a customer/department from Device Detail
After assignment, the device enters the selected customer/department's resource scope. If you reassign it, members of the previous customer/department will no longer manage it through their original scope.
Assign a program
- Open My Program.
- Open the more menu on the program card.
- Select Assign To Customer, choose the target customer/department, and confirm.
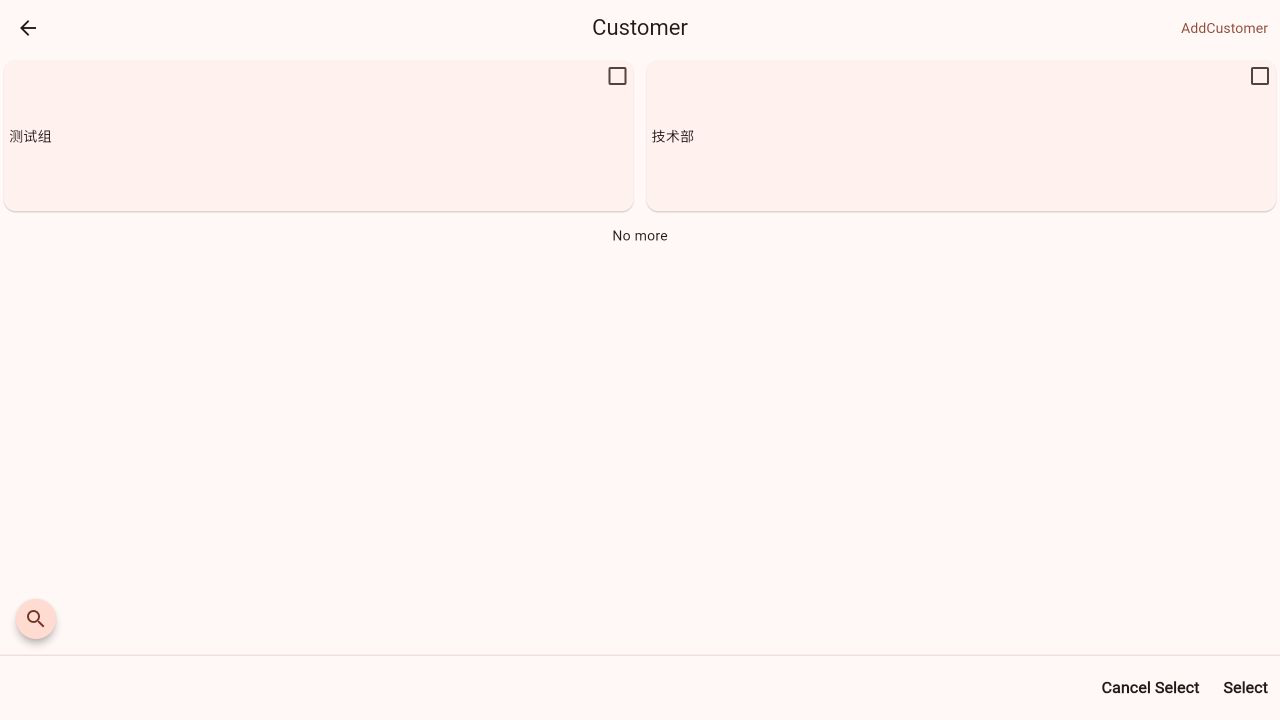 Assign a customer/department from the program menu
After assignment, the Program permission policy determines whether members can view, update, delete, or publish the program. To publish it to a device, make sure the target device belongs to the same customer/department.
Recommended setup sequence
- Create the customer/department with a clear, unique name.
- Configure Program, Media, and Device permissions. Start sensitive operations with Deny or Needs approval when appropriate.
- Create a separate account for each member instead of sharing credentials.
- Assign the devices and programs each member needs to manage.
- Sign in with a member account once to verify the visible resources and available actions.
For a large number of customers, stores, or departments, define a naming convention first and then configure permissions and resources one organization at a time. This keeps future searches, changes, and troubleshooting predictable.