
主题
Multi-Screen Playback
Manage different content for multiple TVs in one program, using device labels to select matching screen groups.
Choose the right approach

| Desired result | Choose | Program setup | Video Wall switch in the device group |
|---|---|---|---|
| Every TV shows the same complete picture | Same-Screen | An ordinary program using the Default screen group | Off |
| Each TV has its own content, including manually split parts of a panorama | Multi-Screen | One program with named screen groups that match device labels | Off |
| TVs form one large picture, with each showing its assigned area automatically | Video Wall | Whole media in the Default screen group; no pre-splitting | On; set rows/columns and use numeric device labels |
Same-Screen repeats a picture; Multi-Screen assigns different content; Video Wall divides one whole picture automatically. All three can use Sync Playback to align their timelines. That setting controls timing, not which part of the picture each screen displays.
When to use it
For example, three TVs can show a menu, a product video and a promotion separately. You can also pre-split a panorama into left, center and right files, then play each file on its matching TV.
Multi-Screen gives each device its own content or layout. If you simply want one whole image or video spread across several TVs automatically, use Video Wall instead. It does not require splitting the source media.
Step 1: Create an ordinary device group
Bind the devices, create a group in My Device and add the devices to it. Keep Video Wall off in that group.
Keep the two setups separate
Multi-Screen assigns content using “device label = screen group name.” Enabling Video Wall switches to automatic viewports of one complete picture, rather than selecting a different screen group for each label.
Step 2: Set each device label
Open a device's details in My Device and click Device Label (Video Wall Screen Number). Enter a simple position name, such as Left for the left TV and Right for the right TV.
This field also holds Video Wall numbers, but for Multi-Screen it contains the matching screen group name.
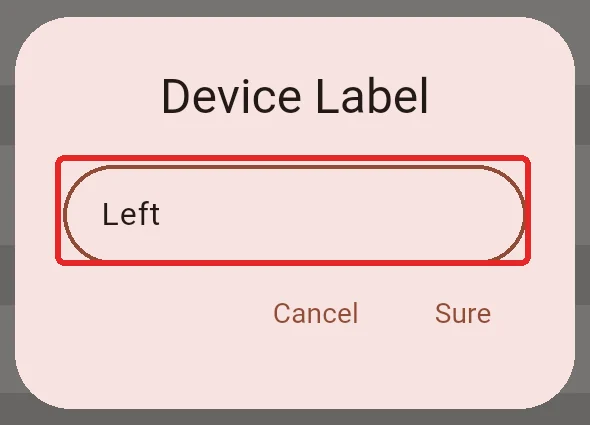
Device Name is for identification. Matching uses Device Label, which must match the screen group name, including letter case.
Step 3: Create matching screen groups in one program
Open the program editor, click Screen Group at the top and choose New Group. Create Left and Right, matching the device labels.
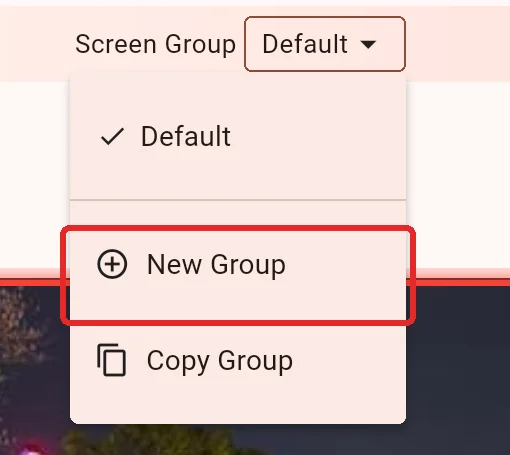
Switch to each group and edit that device's layout and media. See Child-Screen Groups for creating, copying and renaming groups.
| Position | Device label | Screen group in the program | Content |
|---|---|---|---|
| Left TV | Left | Left | Its complete layout, or the left panorama file |
| Right TV | Right | Right | Its complete layout, or the right panorama file |
A full-screen child screen fills that individual TV. Do not shrink the Left layout to half width, or it will occupy only half of that TV.
For pre-split panoramic media, keep the order, individual durations and total duration identical across groups so later loops remain aligned. Independent content can follow the schedule you need.
Step 4: Cast the program to the group
Save the program and use its ordinary Cast action. Choose To Device Group and select the ordinary group from Step 1. You do not need a program group or separate programs.
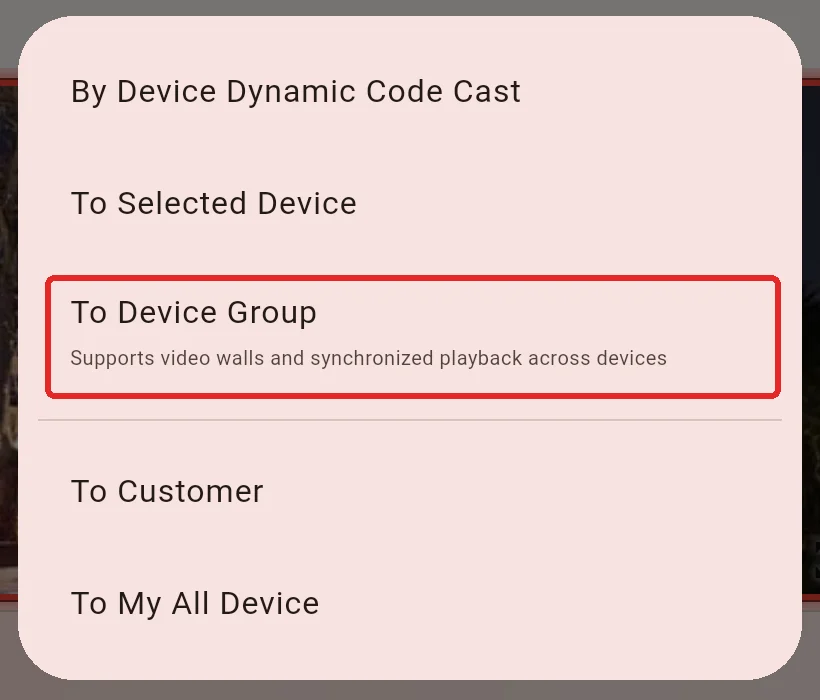
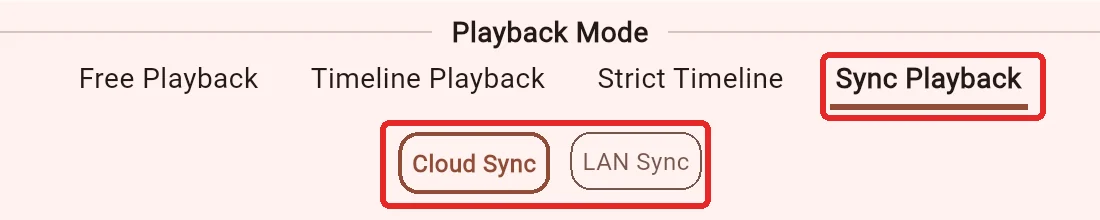
Open Start/End Time/Priority/Playback Mode in the cast dialog and select Sync Playback. Check the schedule, return and confirm. Online synchronization (Cloud Sync) is recommended when internet access is available. LAN Sync requires a consistent channel and time source within the group.
Check the result and troubleshoot
Each device should play the screen group that matches its label. For manually split panoramas, also check adjacent edges and synchronized transitions on the actual TVs.
- Wrong or missing content: check the device label, screen group name and media in that group.
- Every TV shows a zoomed-in area: check whether Video Wall was enabled accidentally. Turn it off, save and cast again.
- Panorama pieces drift after a few loops: check matching media order and durations, playback mode and device clocks.
To switch to automatic viewports, follow Video Wall: set rows/columns and numeric labels, and use the Default screen group.